

Revit void cutting issues can be incredibly frustrating — especially when a void won’t cut an extrusion, even though everything looks aligned. This problem often shows up during family creation, particularly when switching between face-based and work plane-based setups.
Whether you’re working in Revit 2016 or Revit 2025, this step-by-step guide explains why voids fail to cut and how to fix them in both generic models and system families.
Revit Void Not Cutting Geometry: Understanding the Root Cause
Many users face a situation where a void form fails to cut an extrusion, even when everything appears correctly aligned. This usually happens when:
-
The void is created before the extrusion
-
The void isn’t properly hosted
-
The family isn’t set to cut geometry by default
Fix: Use the “Cut Geometry” tool manually or ensure the family is correctly hosted.
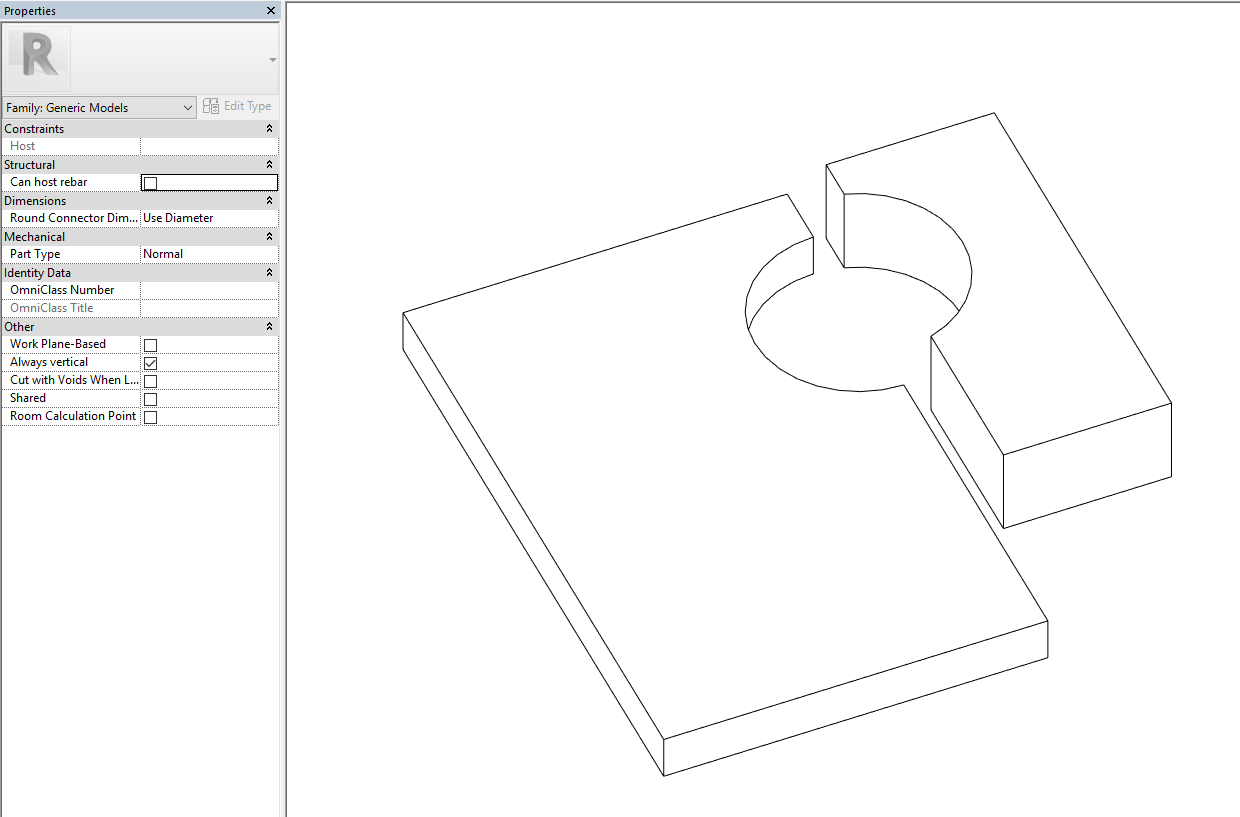
Even when voids are correctly modeled, missing this “Cut with Voids When Loaded” checkbox can prevent proper cutting in the project environment.
Subtle Differences: Work Plane-Based vs Face-Based Families in Revit
Your Revit void might not cut the target object simply because it was created in the wrong type of family.
-
Work Plane-Based voids can cut across multiple faces
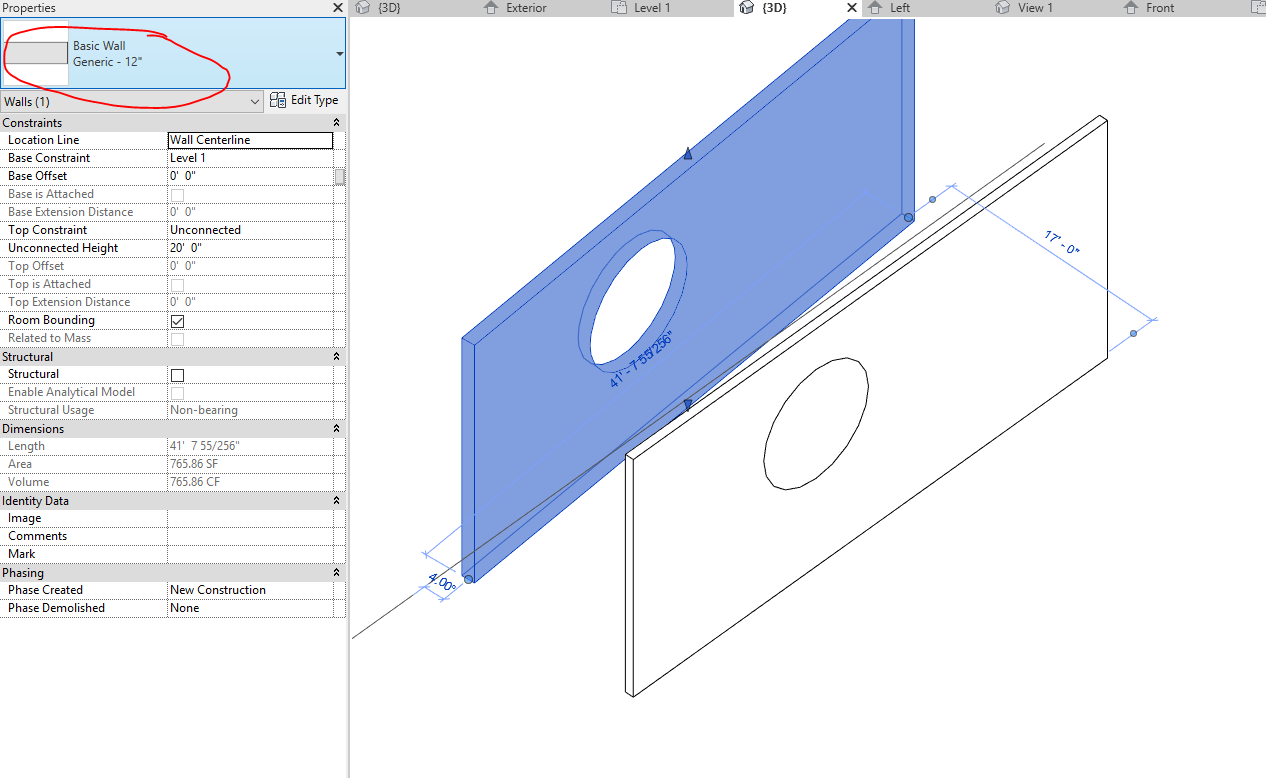
A void cut into a face-based wall only affects its host. This limitation often causes confusion when users expect it to cut across multiple surfaces.
-
Face-Based voids are limited to their host
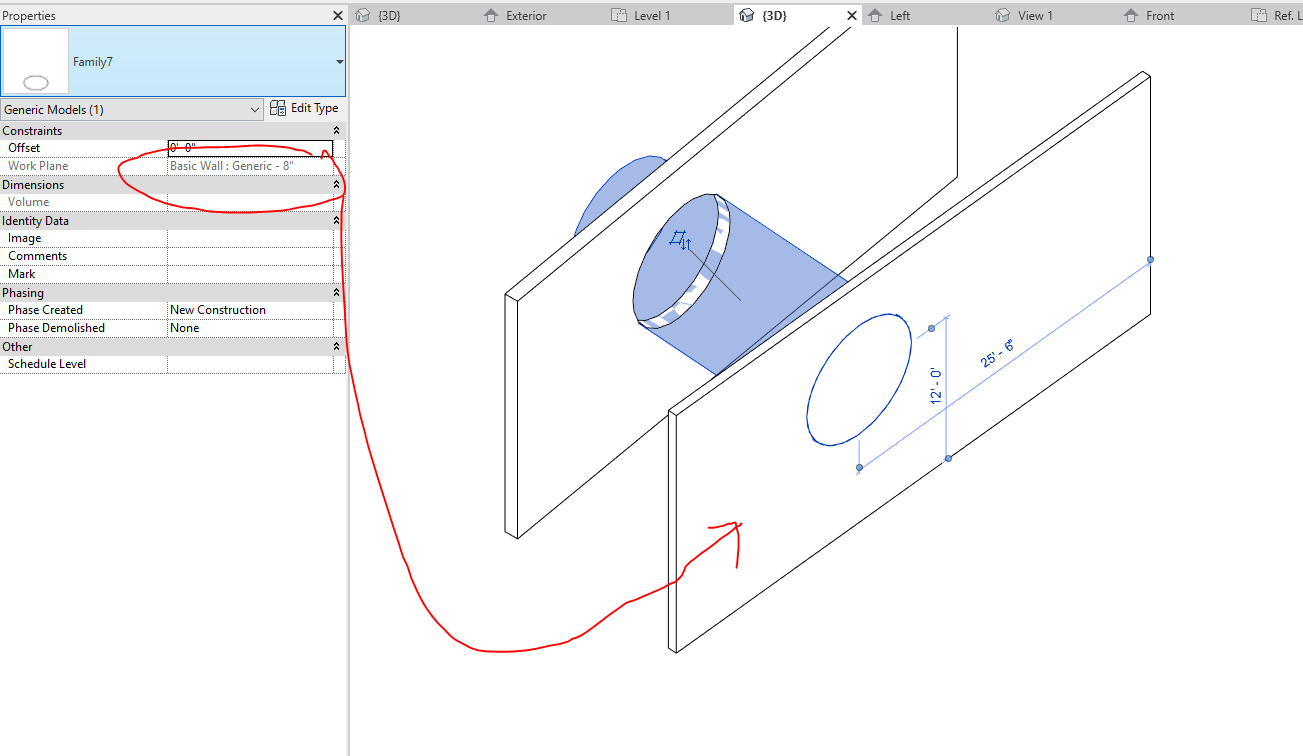
Here, a face-based void was mistakenly assigned to the wrong wall. Red arrow indicates intended host.
In this example, a void was created on one wall and expected to cut another — but failed. That’s because the void was locked to a face-based family.
Fixing Revit Void Not Cutting: Set the Correct Work Plane
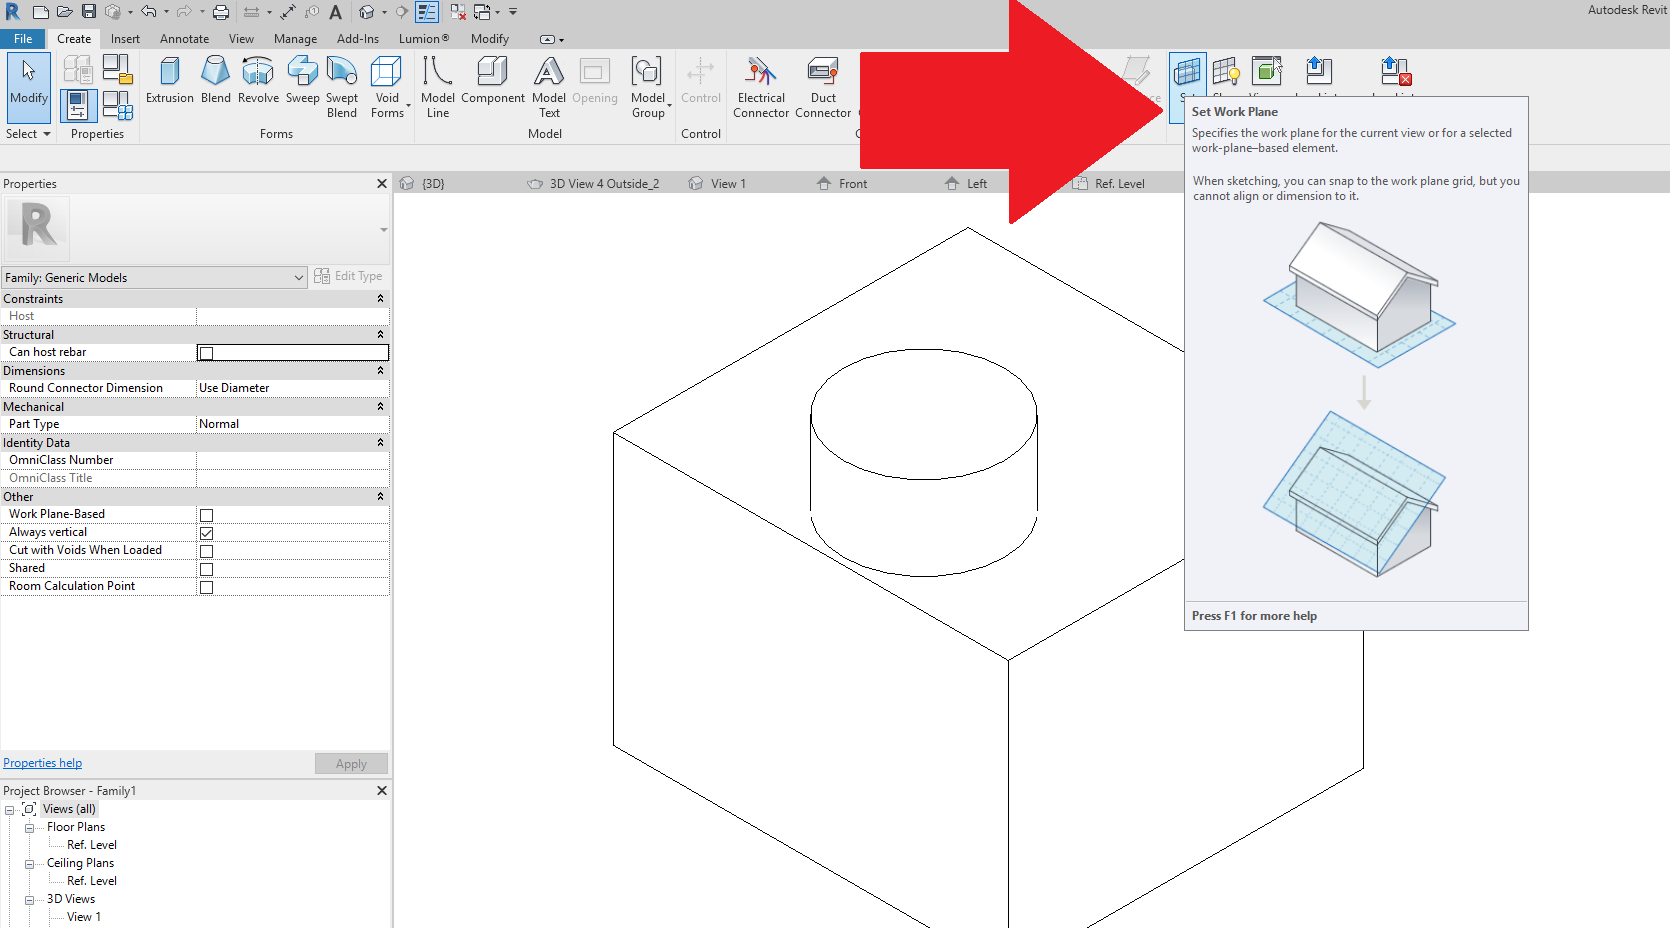
Setting the wrong work plane is a common mistake when modeling voids. Make sure the Set Work Plane button is used before drawing the void.
Steps:
-
Select the void
-
Click Set Work Plane
-
Choose the correct plane or host
-
Try the Cut Geometry tool again

Click the “Set Work Plane” button before sketching your void. This ensures it aligns with the correct host or reference plane.
Advanced Troubleshooting: When Revit Voids Still Don’t Cut
If your voids still aren’t cutting:
-
Recreate the void after the solid geometry
-
Ensure solids and voids are in the same family
-
Check for “Cut with Voids When Loaded” option
If using multiple solids, sometimes deleting and recreating the void helps resolve visibility issues.
Pro Tip: Check “Cut with Voids When Loaded” Option
If you are loading a family into a project and the void isn’t cutting, make sure the family has this checkbox enabled under properties.
You’ll find it in the family editor, under Other > Cut with Voids When Loaded. This is essential when your void should affect elements outside the family.
Conclusion: Mastering Revit Void Cutting for Better Workflow
Understanding the interaction between Revit voids and host elements is essential to precise modeling. Whether the issue stems from family types, hosting, or visual settings, applying these best practices can save hours of trial-and-error.
Need more Revit solutions? Check out this Revit troubleshooting blog or get a genuine Revit license
Further Reading